︎
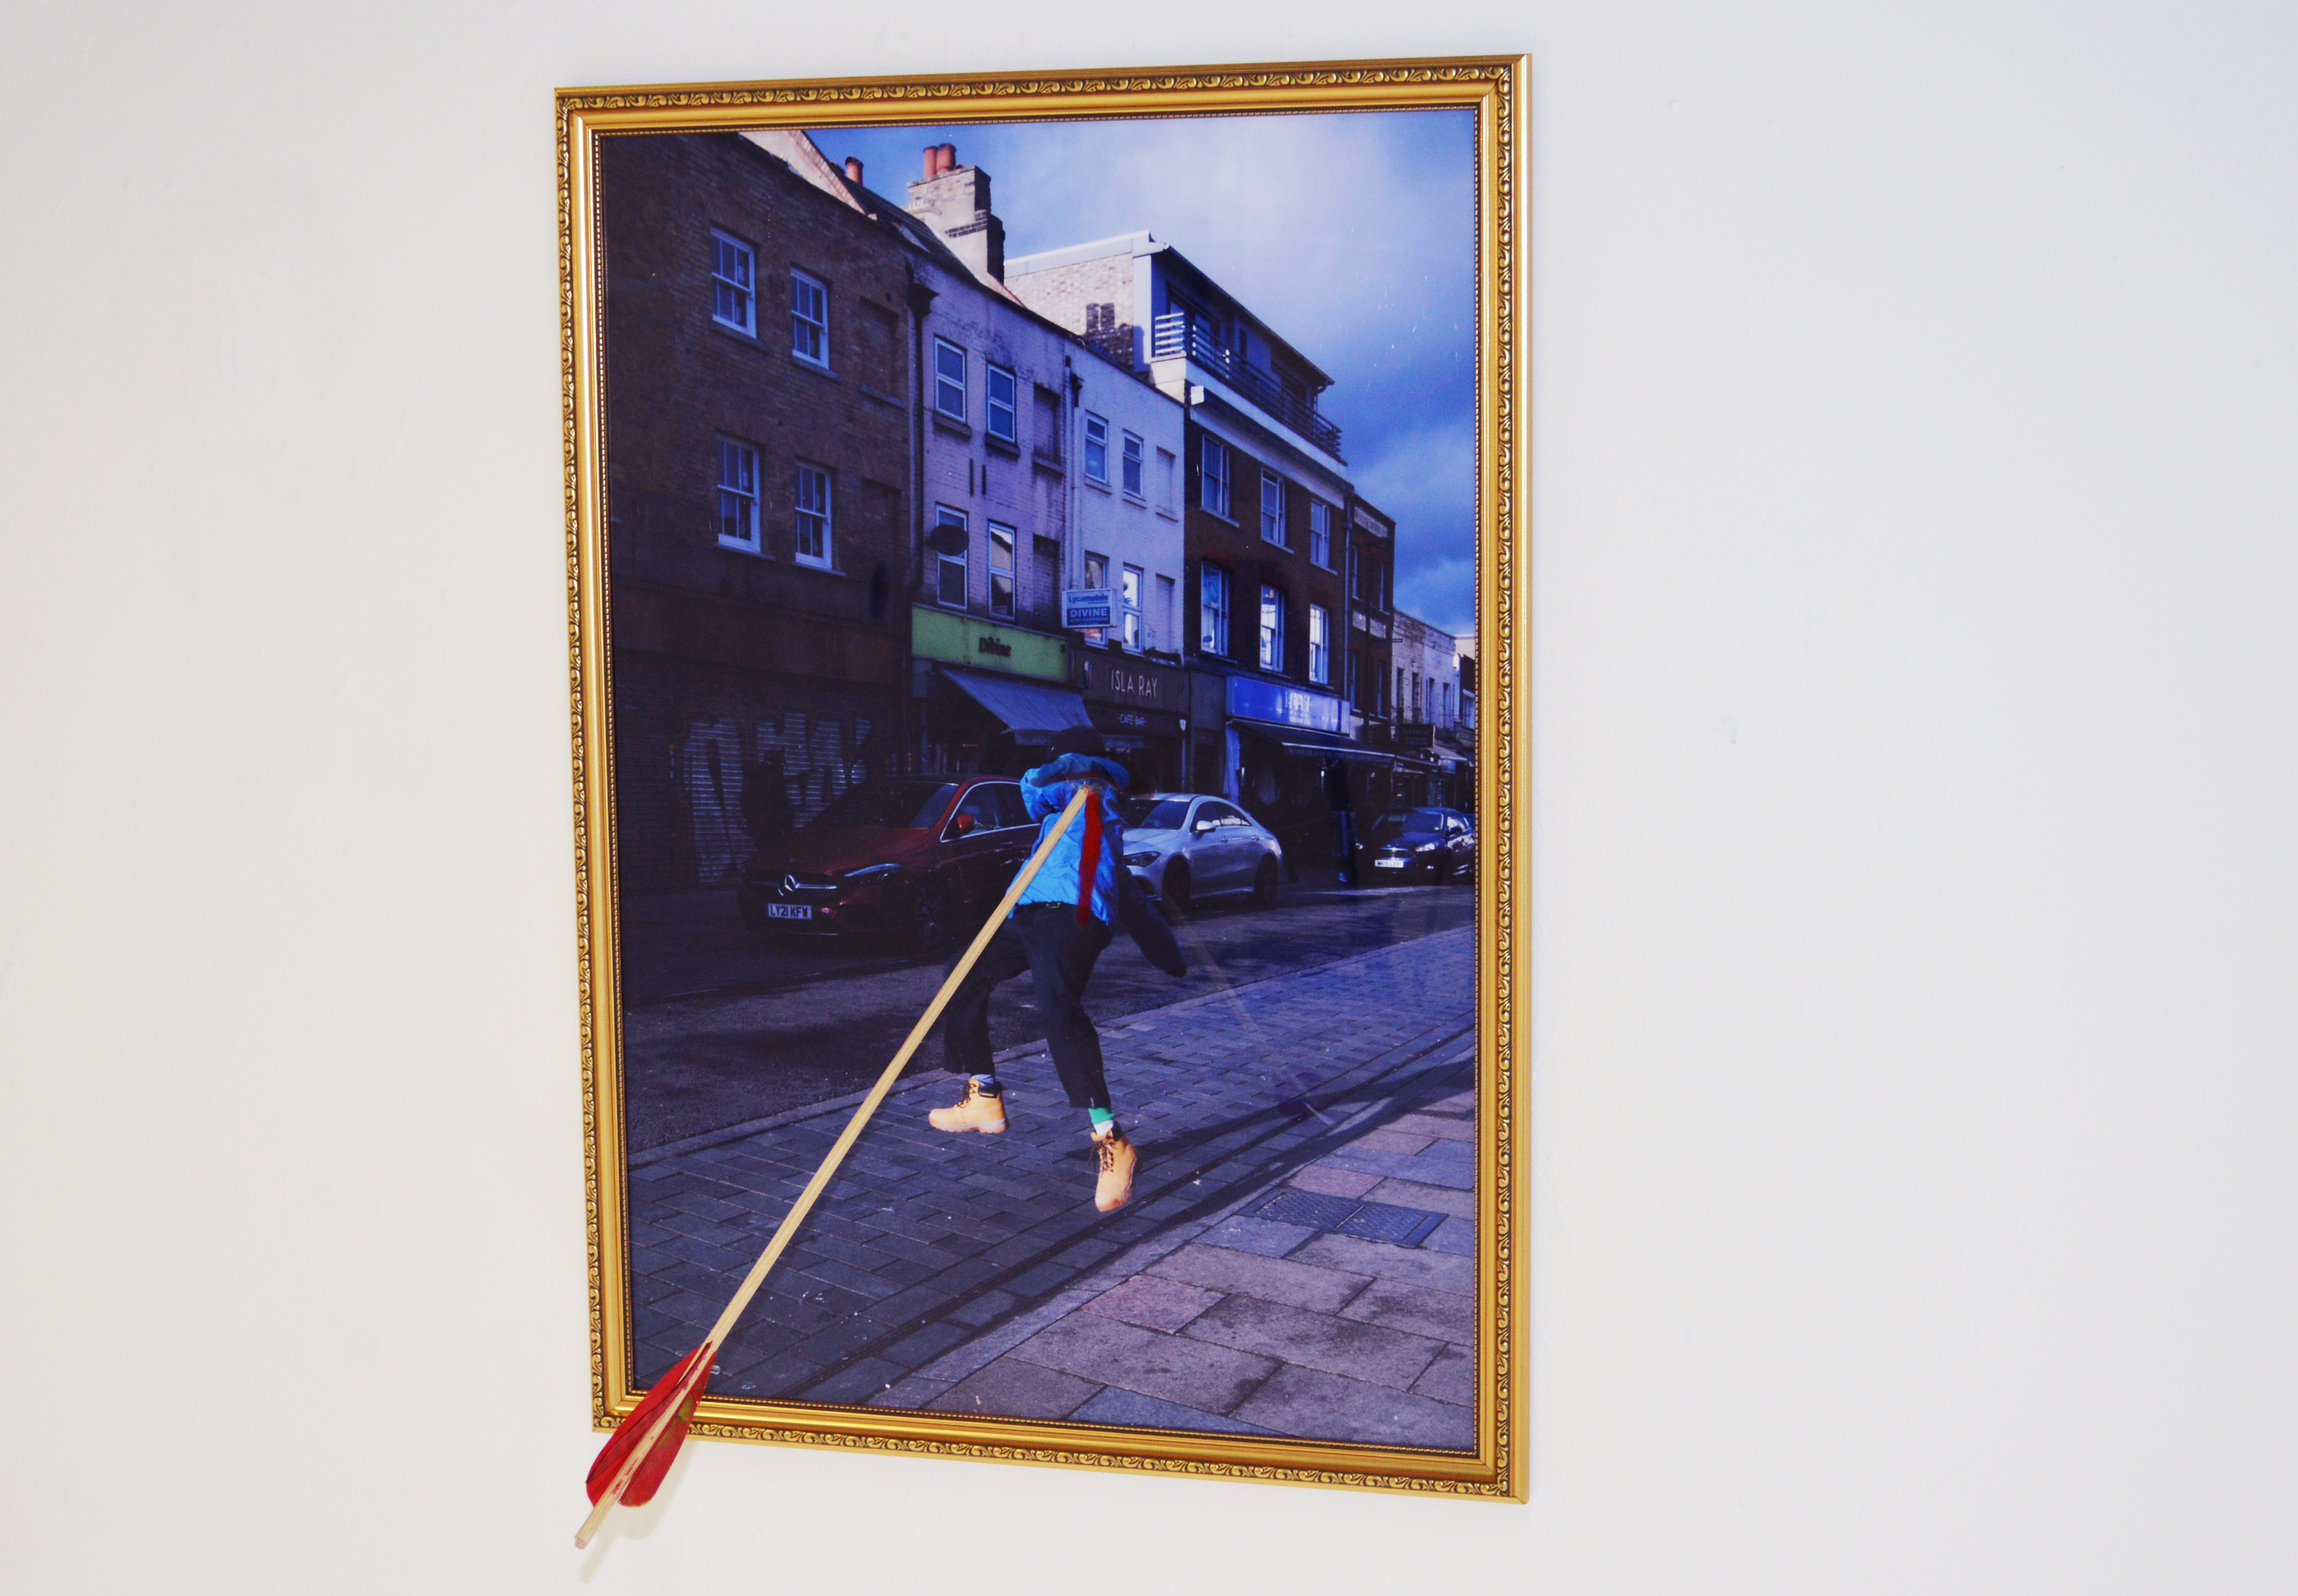
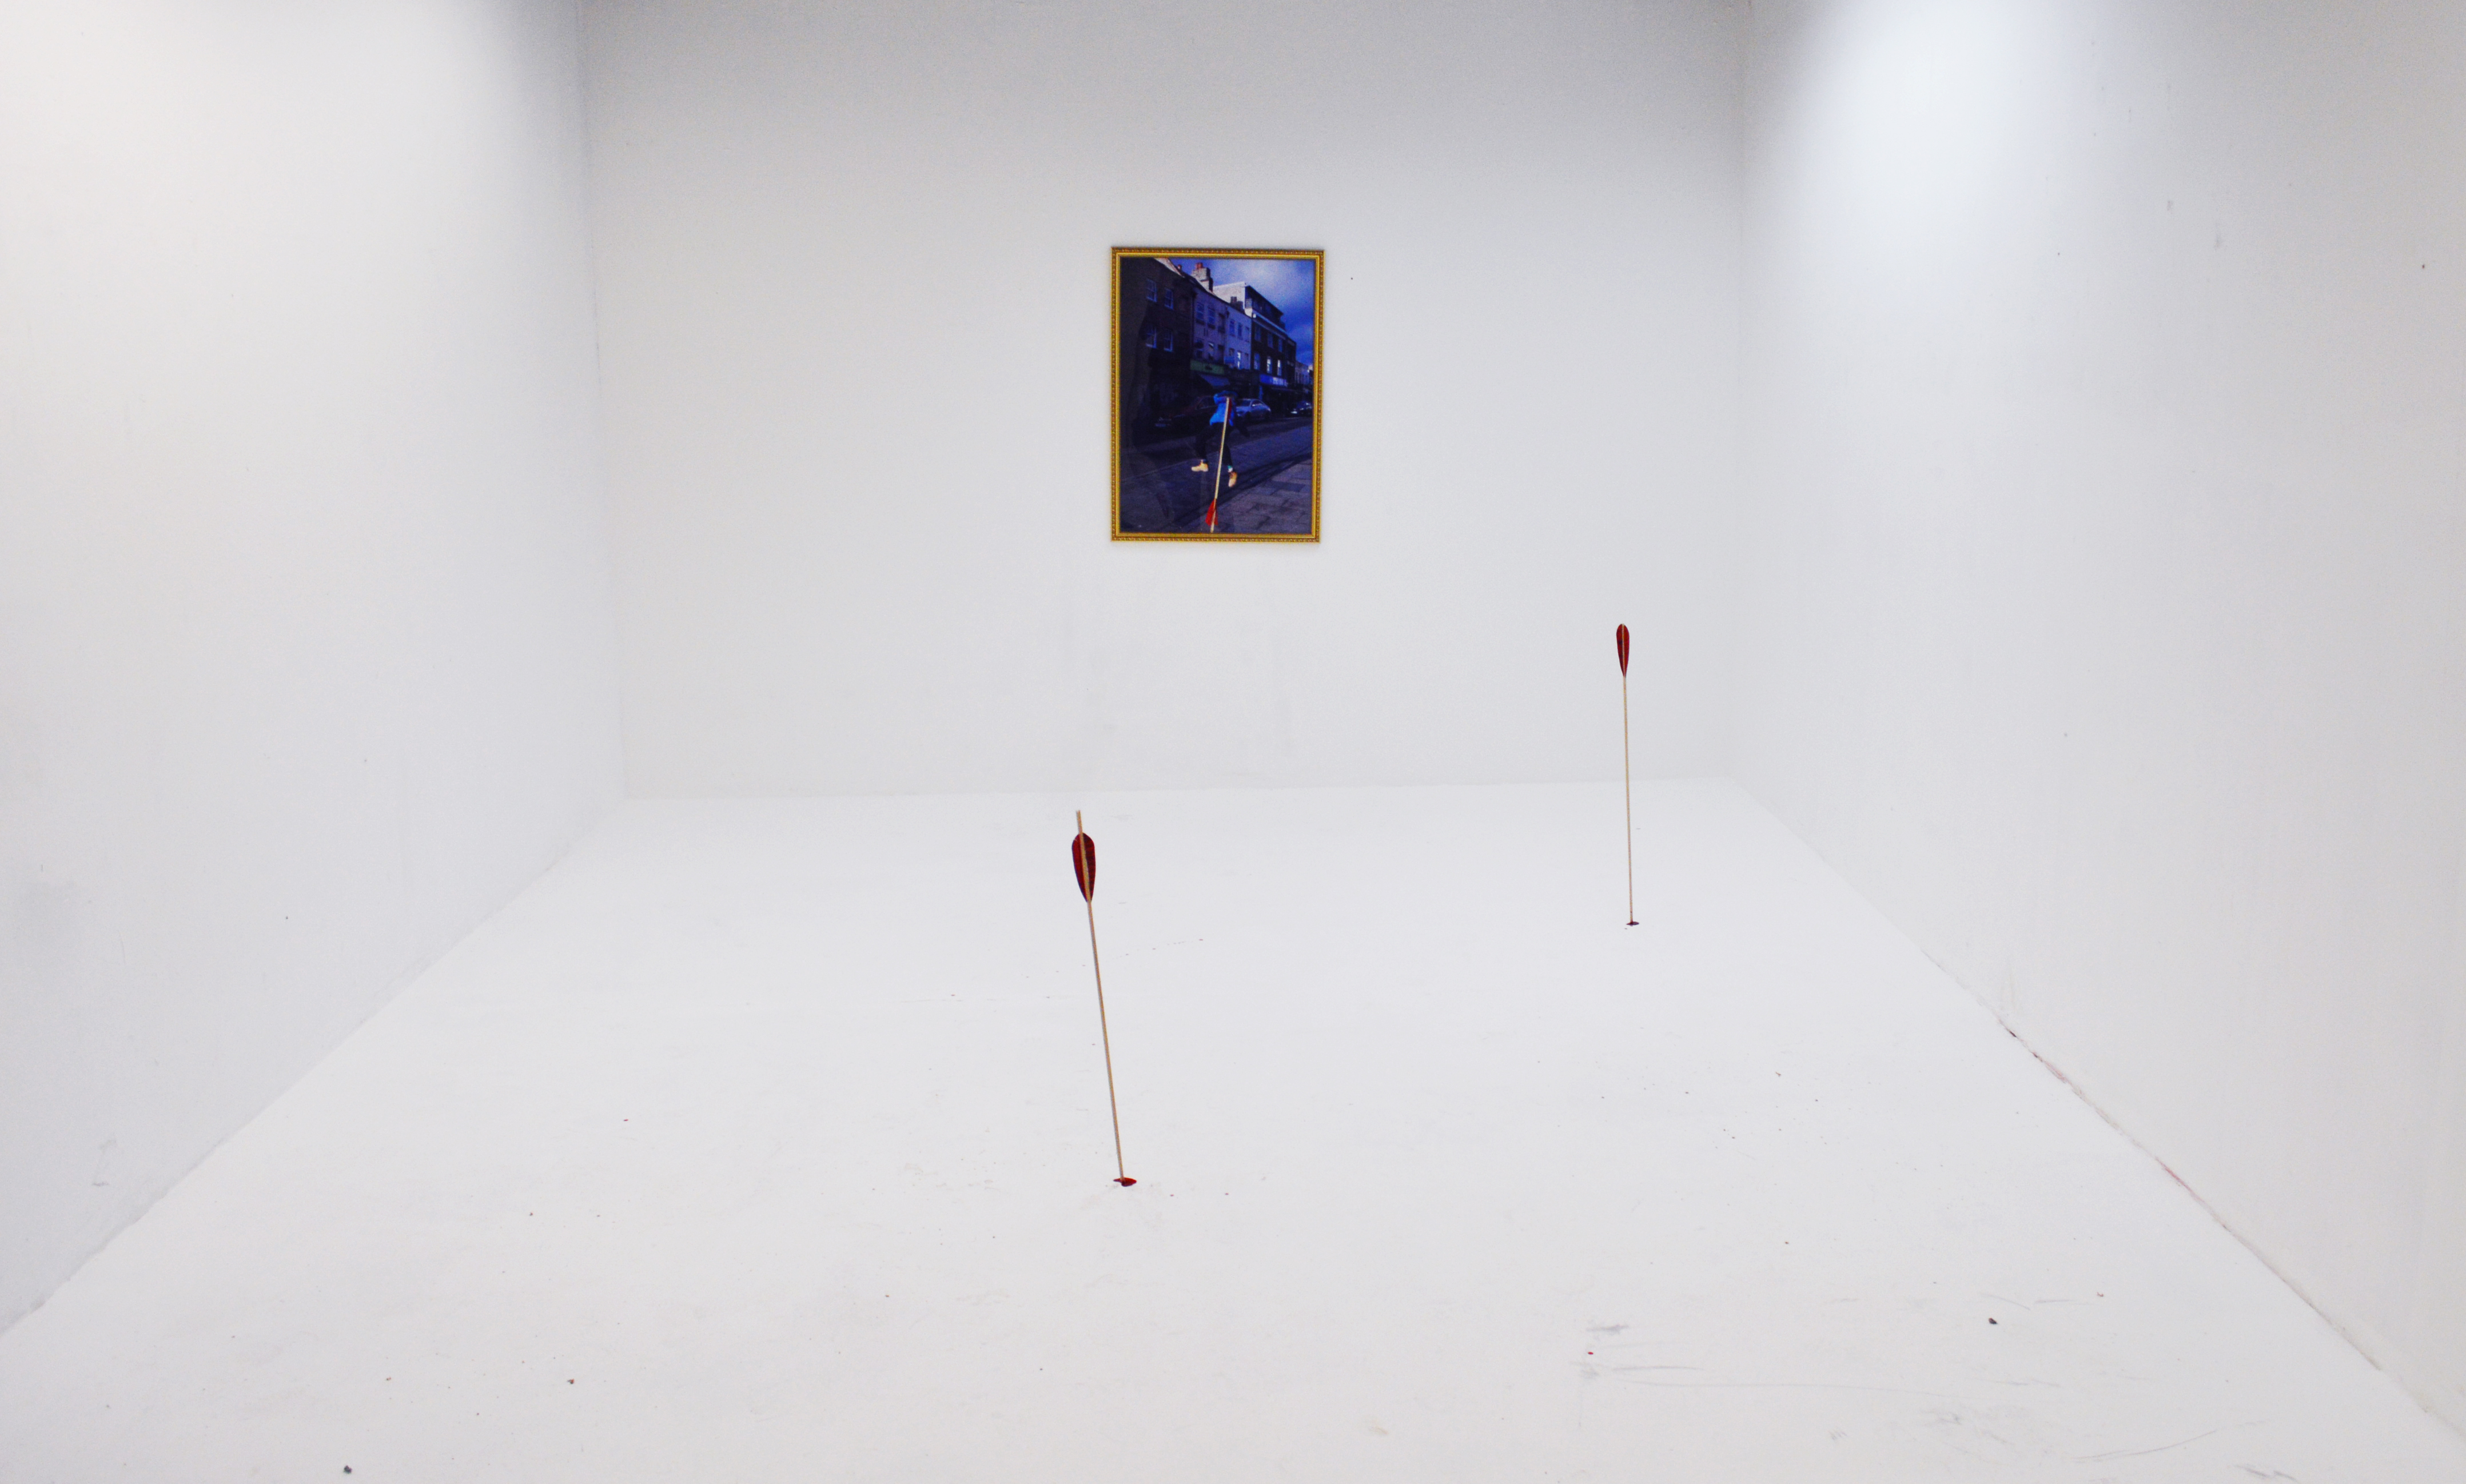
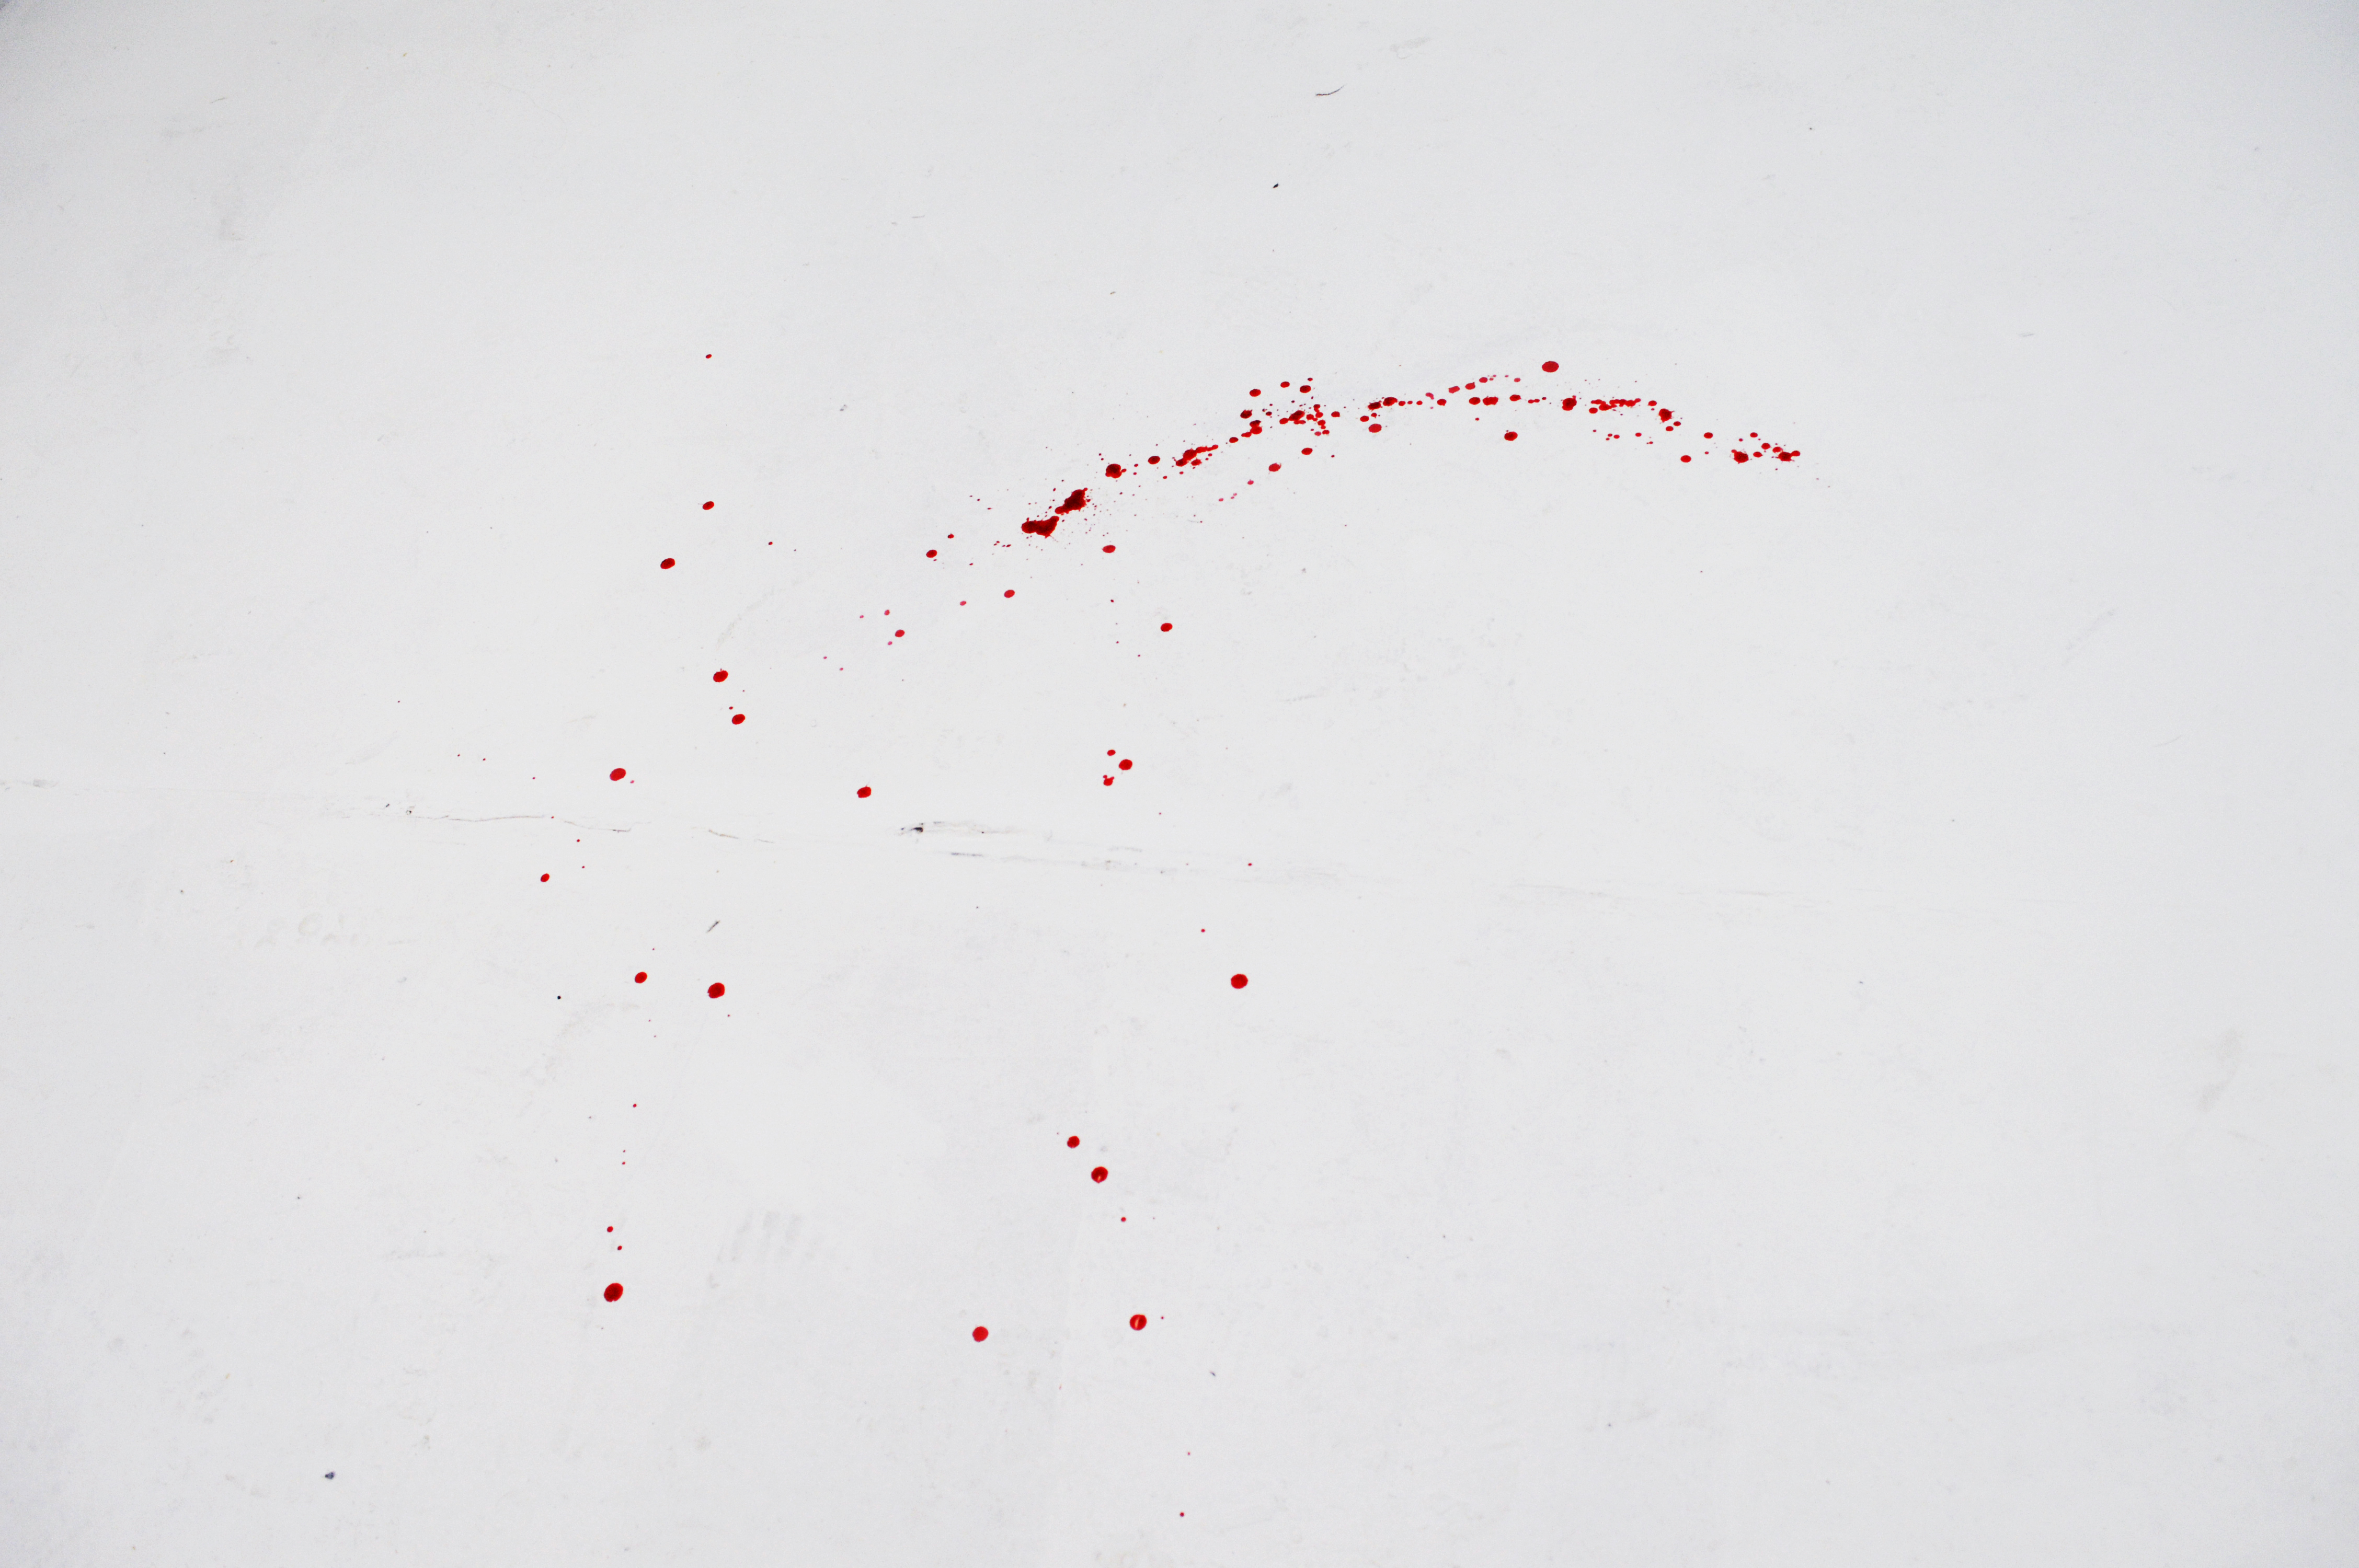
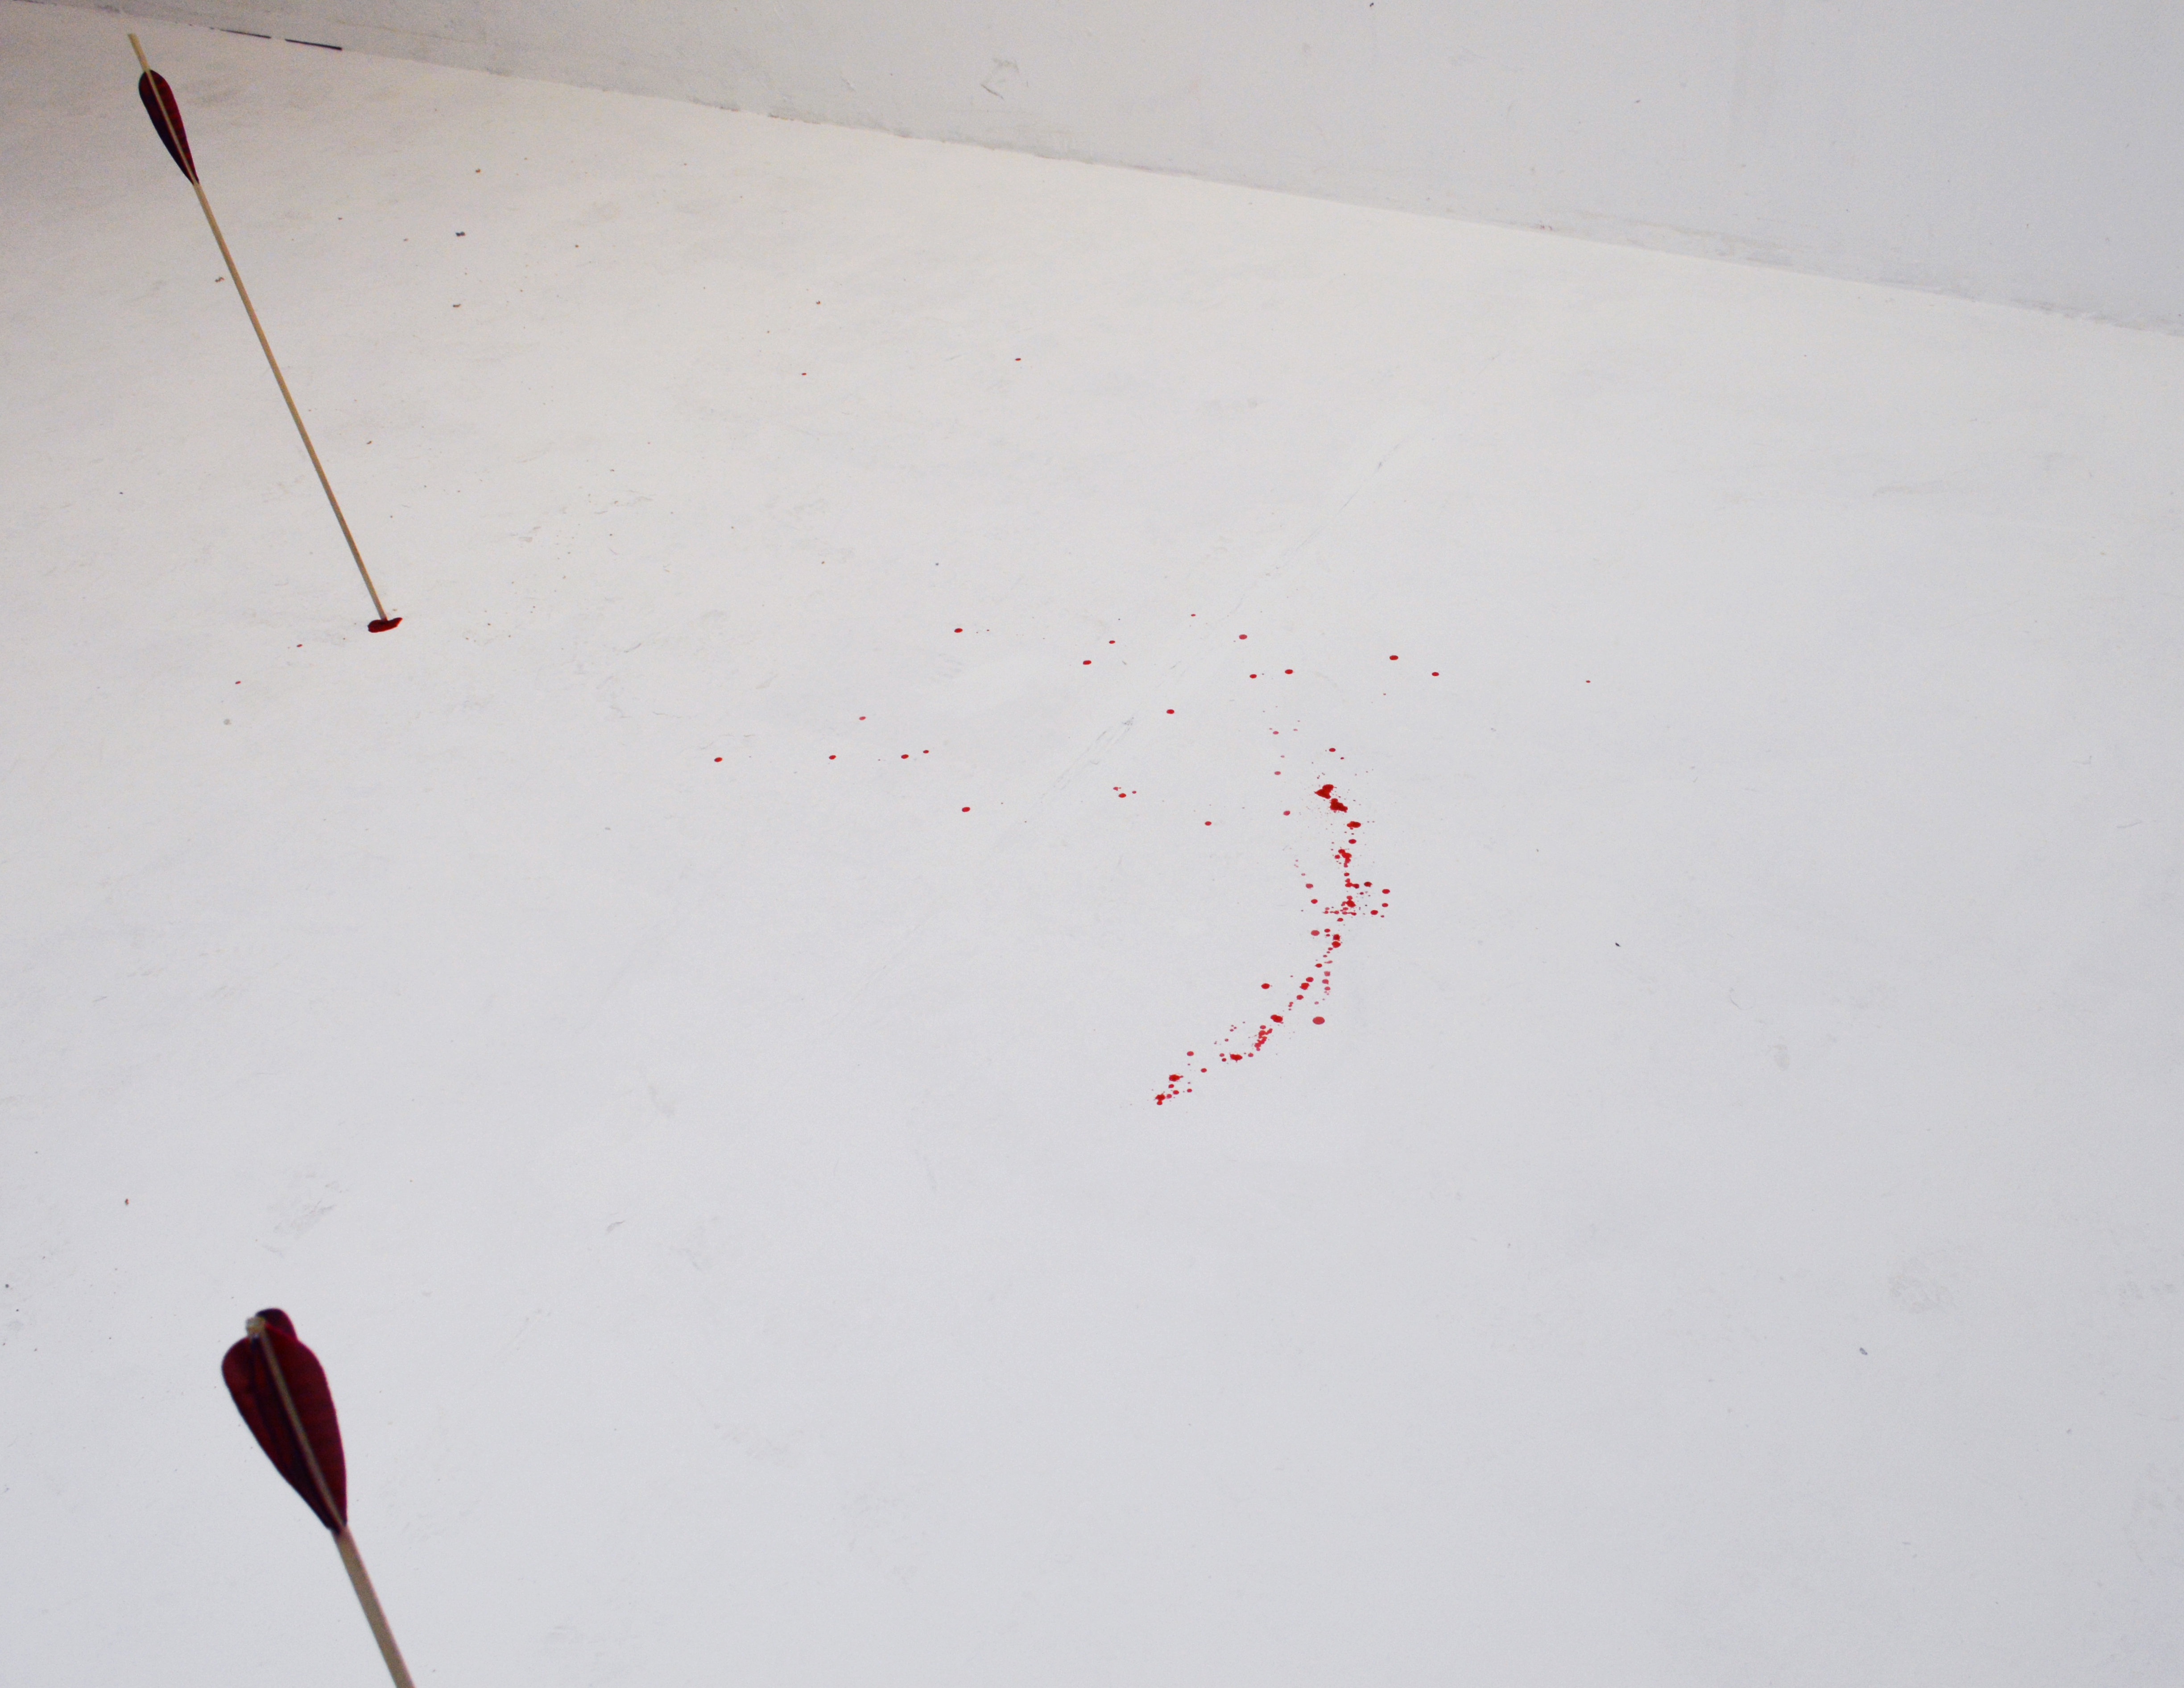
Tiffany Wellington
info
contact
selected
works
AAF {Always & Forever} 2021
© Copyright 2024 Tiffany Wellington